Validating Documents
To validate a document, we suggest reviewing the details of each document, one by one. Edit the fields that need changing and then, when done, click Validate. Here are more details on how this works:
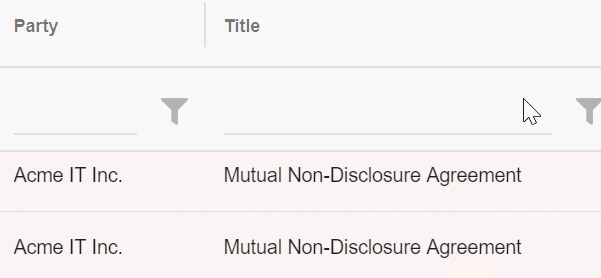
Cells that are shaded pink highlight data that has not been validated by a person.
To validate a field, first edit it by double clicking it.
Make changes to the field (if any are needed), then press "Enter" or click outside of the field. The field will flash green to indicate it has been saved. It will then turn white to indicate the field is validated. If you start editing a field and change your mind, you can press "Esc" and the field will not be edited or validated.
As a short cut, you can validate all the fields displayed for a document by pressing the "Validate" button on the far right. Pressing validate will turn all pink fields to white, and mark the whole document as "Validated." This will also remove the document from the Inbox, since the Inbox only shows unvalidated documents.
To validate multiple documents, select the relevant documents using the checkboxes on the left:

You can then click Actions -> Bulk Validate:

Last updated